Designing streetwear that sells starts with a tech pack, not a sketch – translating a concept into fabric weight, fit, colorway, and a decoration method a factory can produce at 50 pieces per design. Graphics get the attention on social media, but fit and fabric are what decide whether a customer buys a second piece.
This guide walks through the process a founder should follow from initial concept to a finished, manufacturable garment, in the order these decisions actually need to be made.
Step 1: Start With a Point of View, Not a Product
The streetwear brands that build a following start with a clear point of view – a specific city, subculture, or visual language a customer can recognize across each piece in a collection without needing a logo pointed out. A hoodie designed in isolation, disconnected from a bigger idea, tends to read as generic even with sharp execution. Before sketching a single graphic, define the two or three words that describe the brand’s world, then design each piece to fit inside it.
Step 2: Choose Your Silhouette & Fit First
Fit is a design decision made before a single graphic is drawn – oversized, boxy, drop-shoulder, cropped, and regular fit all send a different signal, and switching fit after a graphic is finalized often means resizing the whole placement. Decide silhouette early: a drop-shoulder tee needs a different print placement than a slim regular-fit tee, since the shoulder seam sits in a different spot on the body. See what is a drop-shoulder fit and the oversized fit guide for reference before locking a silhouette.
Step 3: Lock the Fabric & GSM Before the Graphic
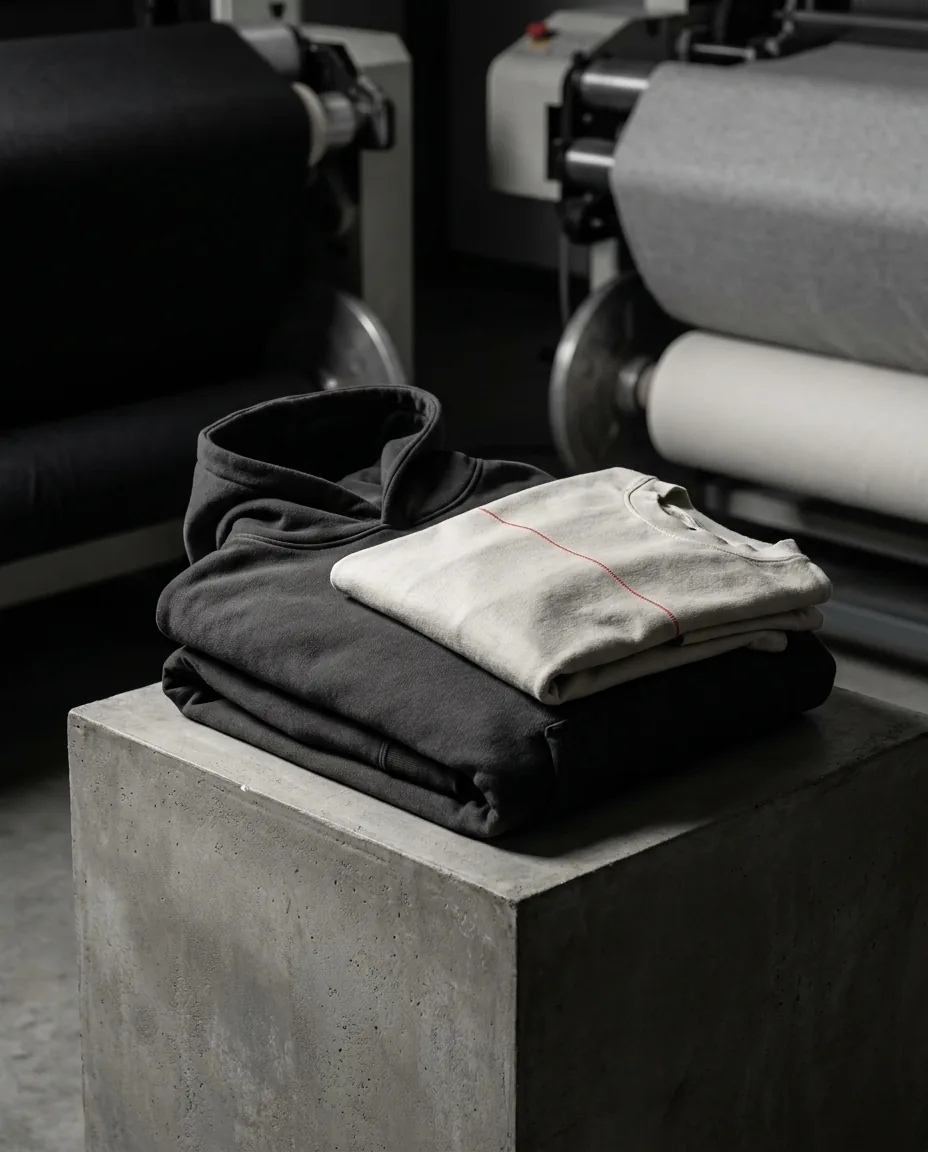
Fabric weight changes how a graphic looks once printed – a heavyweight 380 GSM fleece hoodie holds a large chest print differently than a lighter 280 GSM crewneck, and a design finalized on a screen before fabric is chosen can look wrong on the actual garment. Standard ranges run 240-280 GSM combed cotton for tees and 300-400+ GSM fleece for hoodies; choosing within these ranges before finalizing artwork keeps the graphic and garment working together rather than being retrofitted to each other later.
Step 4: Choose a Decoration Method That Matches the Design
Different decoration methods suit different graphic styles, and picking the wrong one for a design’s complexity is a common first-time mistake:
- Screen print – best for bold, limited-color graphics with sharp edges
- DTG (direct-to-garment) – suited to detailed, photographic, or multi-color designs in smaller runs
- Puff or flat embroidery – suited to logos, wordmarks, and small-scale detail on fleece or French terry
- Acid wash / garment dye – a finish applied to the whole garment for a worn-in, vintage look
- All-over print – full-garment graphics that require fabric printed before cutting, not after
Full comparisons at screen printing vs DTG and embroidery vs screen printing.
Step 5: Build the Tech Pack
A tech pack translates a design into a document a factory can actually cut and sew from: garment measurements by size, fabric and GSM specification, colorway (with Pantone or hex references), placement and dimensions for each print or embroidery element, and construction notes like seam type and trim details. A founder without design software experience can build one from a labeled sketch, reference photos of similar garments, and a rough measurement set – Minku can develop the finished tech pack from these starting materials. See how to create a tech pack and what is a tech pack for the full document structure.
Step 6: Sample Before Committing to Bulk
No design is finished until it exists as a physical garment. A pre-production sample is where a founder discovers whether a fit reads as intended on a body, whether a print placement sits where it should, and whether a fabric choice feels right in hand – all details a flat sketch or digital mockup cannot fully show. Skipping this step to save time is the single most common reason a first bulk order arrives with problems a founder cannot fix after the fact.
Step 7: Test Colorways With a Pre-Production Sample
Colorway decisions carry more risk than they appear to on a screen, since color renders differently under studio lighting, natural daylight, and a customer’s phone camera. Requesting a lab dip or a small physical swatch before committing bulk fabric to a colorway avoids a common and costly outcome: a bulk order arriving in a shade that reads correctly on screen but off in person. See what is a lab dip and what is a pre-production sample for how this step fits into the broader sampling process.
What Makes Streetwear Look Premium
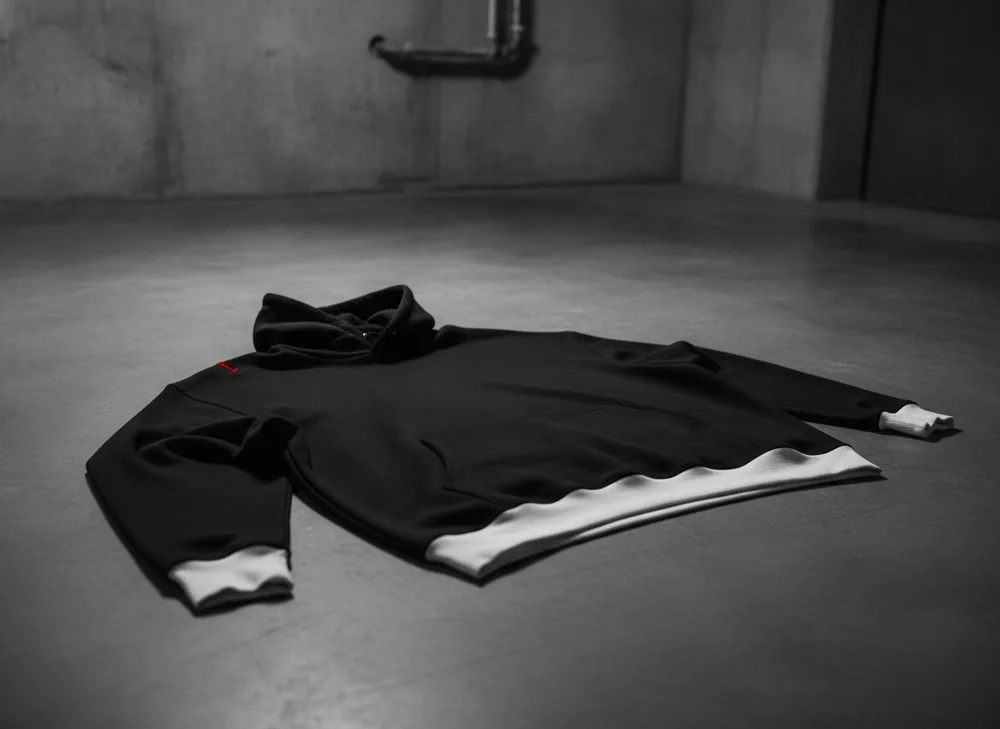
Beyond the graphic, a handful of physical details separate a garment that reads as premium from one that reads as a basic tee with a print on it: a substantial fabric weight, clean and even stitching, a woven neck label rather than a printed one, and a hem or cuff finish that holds its shape after washing. None of these details show up in a flat digital mockup, which is another reason a physical sample matters before finalizing a design – a founder can feel the difference between a 180 GSM basic and a 260 GSM streetwear-grade tee in a way no screen can convey. See what makes streetwear look premium for the full detail list.
Designing for Private Label From the Start
A design is not finished once the graphic and garment are locked – the branding layer carries equal weight in a customer’s overall impression. Woven neck labels, custom hang tags, care labels, and branded packaging should be planned alongside the garment itself, not added as an afterthought once bulk production is already underway. Building these elements into the same tech pack as the garment spec keeps the whole first drop consistent, from the printed graphic down to the tag inside the collar. See custom labels, tags, and packaging for what a full private label setup includes.
Common Design Mistakes First-Time Brands Make
- Finalizing artwork before locking fabric weight and fit
- Choosing a decoration method that does not suit the graphic’s complexity
- Skipping the pre-production sample to save a few days
- Designing five or more unrelated graphics instead of a cohesive first collection
- Assuming a colorway will render on fabric exactly as it appears on a screen
Designing for Reorders, Not Only a Single Drop
A design built with reorders in mind uses fabric, colorways, and decoration methods a factory can repeat consistently at scale, rather than a one-off technique difficult to match a second time. Hand-applied or highly variable finishes can look striking on a small first sample but become a liability once a brand needs 300 identical reorder pieces to match a customer’s first purchase exactly. Locking a repeatable spec in the tech pack from the start – rather than treating the first sample as a one-time experiment – sets a design up to scale smoothly once it proves it sells.
Sourcing Reference Materials Before You Sketch
Founders new to design often skip straight to a blank page, when a stronger starting point is a folder of reference photos: garments with a similar fit, competitors’ pieces broken down by construction detail, and fabric swatches or photos showing the hand-feel a designer is aiming for. This reference set becomes the shared language between a founder and the factory building the tech pack, reducing the back-and-forth needed to align on what “oversized” or “heavyweight” actually means for a specific design.
Example: Concept to Finished Garment
A founder building a collection around a single city’s transit map started with the point of view – the map itself, rendered as a bold, two-color graphic – before deciding a boxy, drop-shoulder tee in 260 GSM combed cotton was the right base garment for a chest-and-back screen print. A tech pack specified the exact print dimensions and Pantone colors, a pre-production sample confirmed placement sat correctly on the drop-shoulder seam, and only then did the 80-piece bulk order move to production. Each step built on the last rather than working backward from a finished graphic.
How Minku Supports Designers From Sketch to Sample
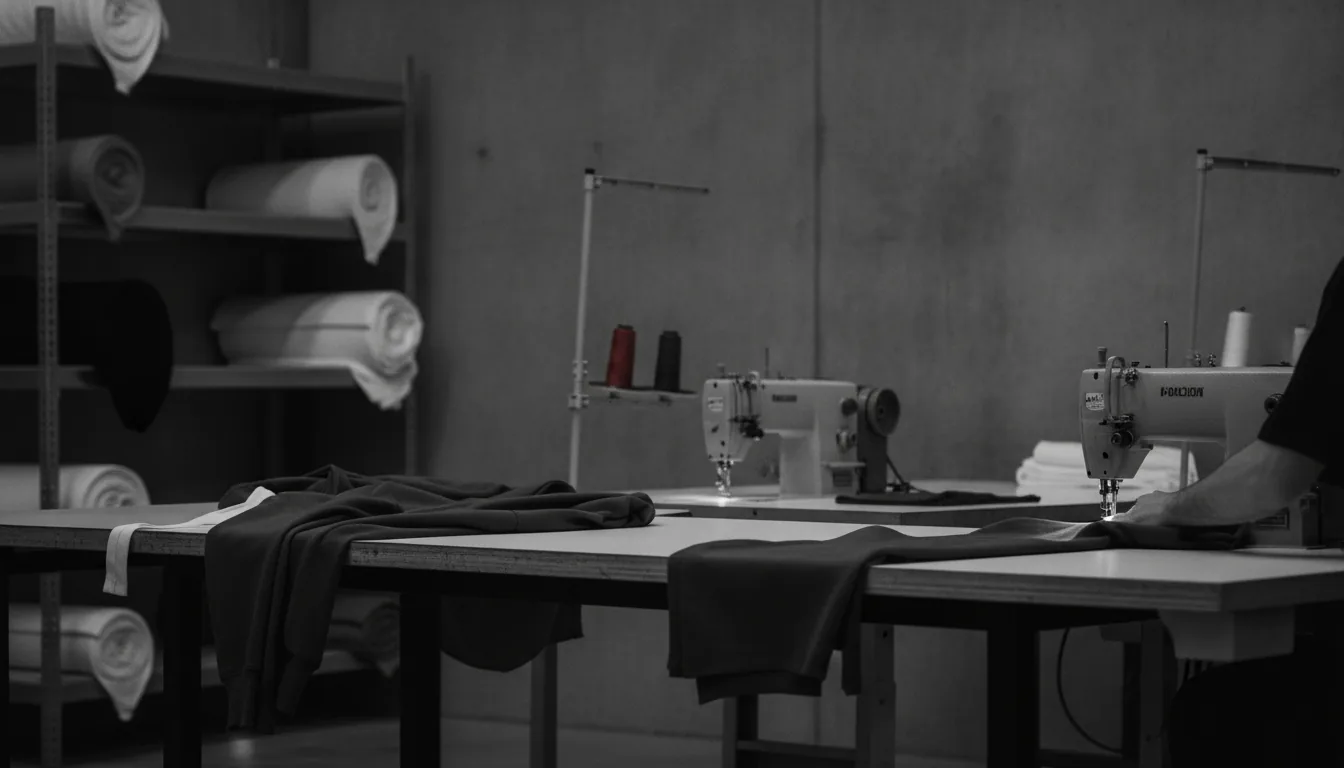
Minku takes a founder’s sketch, reference image, or rough concept and works with them to build a complete tech pack – fabric, GSM, fit, colorway, and decoration method specified in one document – before producing a pre-production sample for approval. All decoration methods (screen print, DTG, puff and flat embroidery, acid wash, garment dye, tie-dye, all-over print) sit under one roof, so a design does not need to move between separate specialists to reach a finished sample. Private label elements – woven labels, hang tags, and packaging – are built into the same production run, so the first sample a founder receives already reflects the complete finished product, not only the printed garment.
Ready to turn a concept into a manufacturable tech pack? Get Your Custom Quote, or explore all-over print manufacturer and custom streetwear manufacturer for the full decoration and product range.
How to Design Streetwear That Sells — In Detail