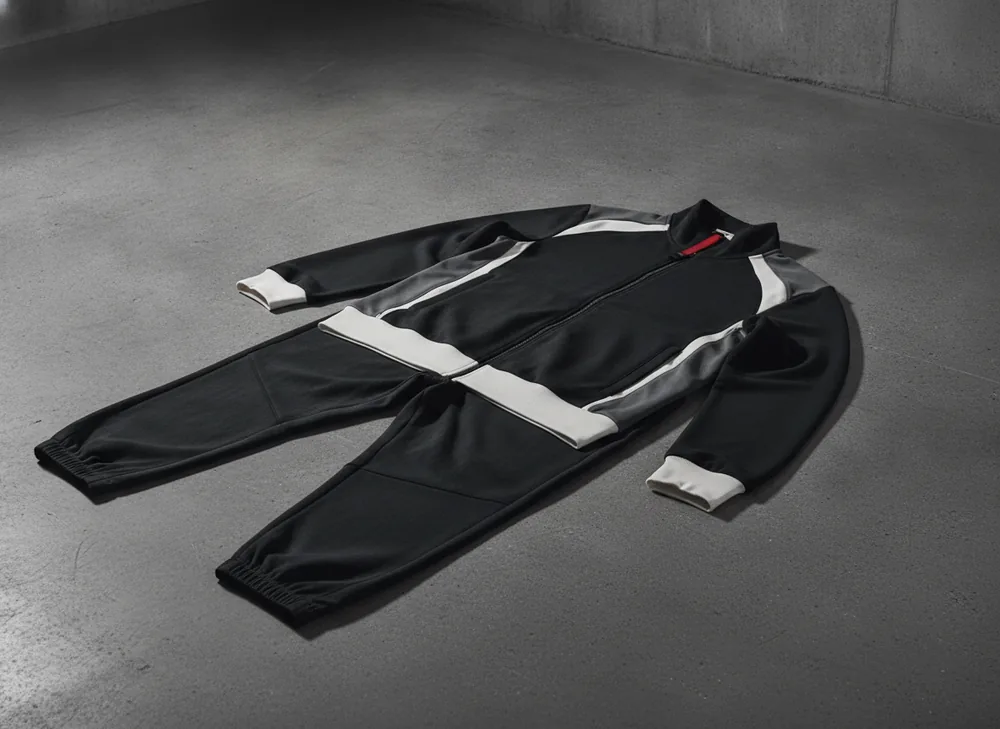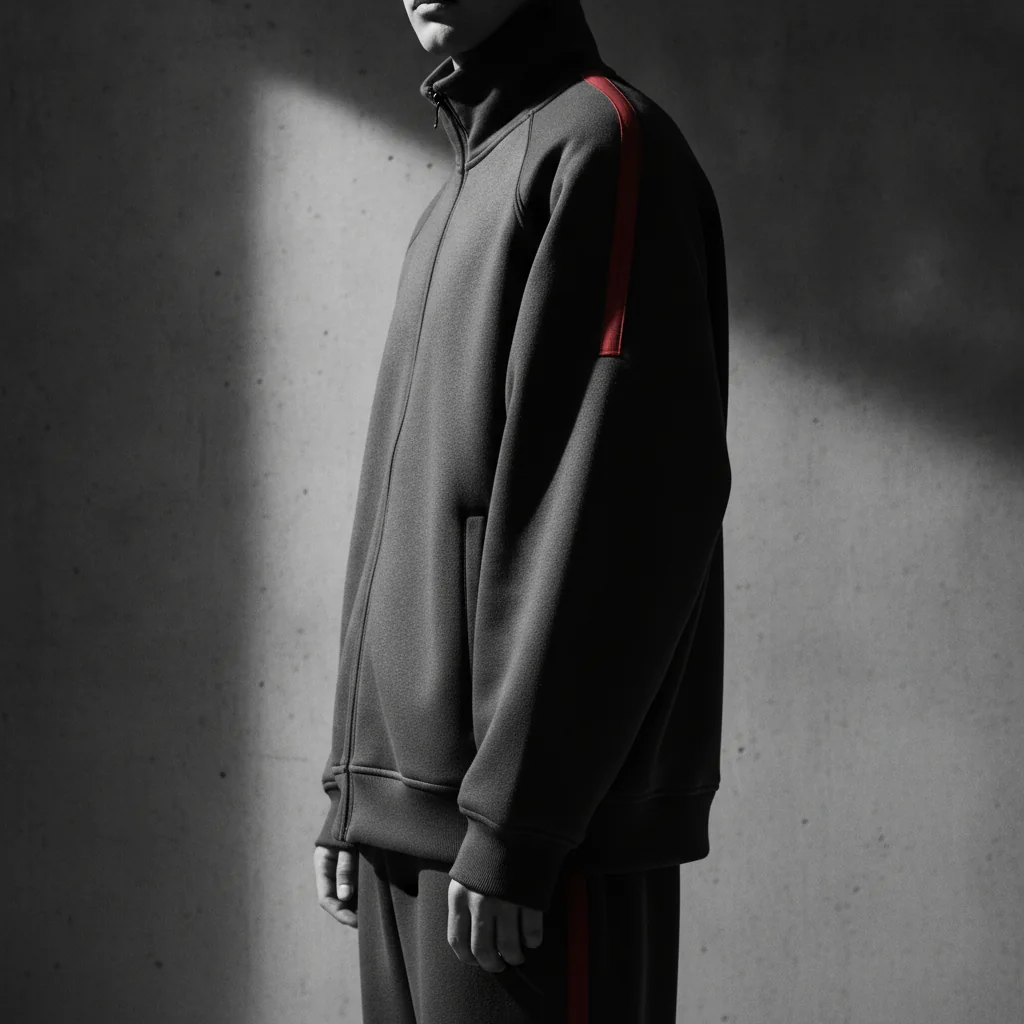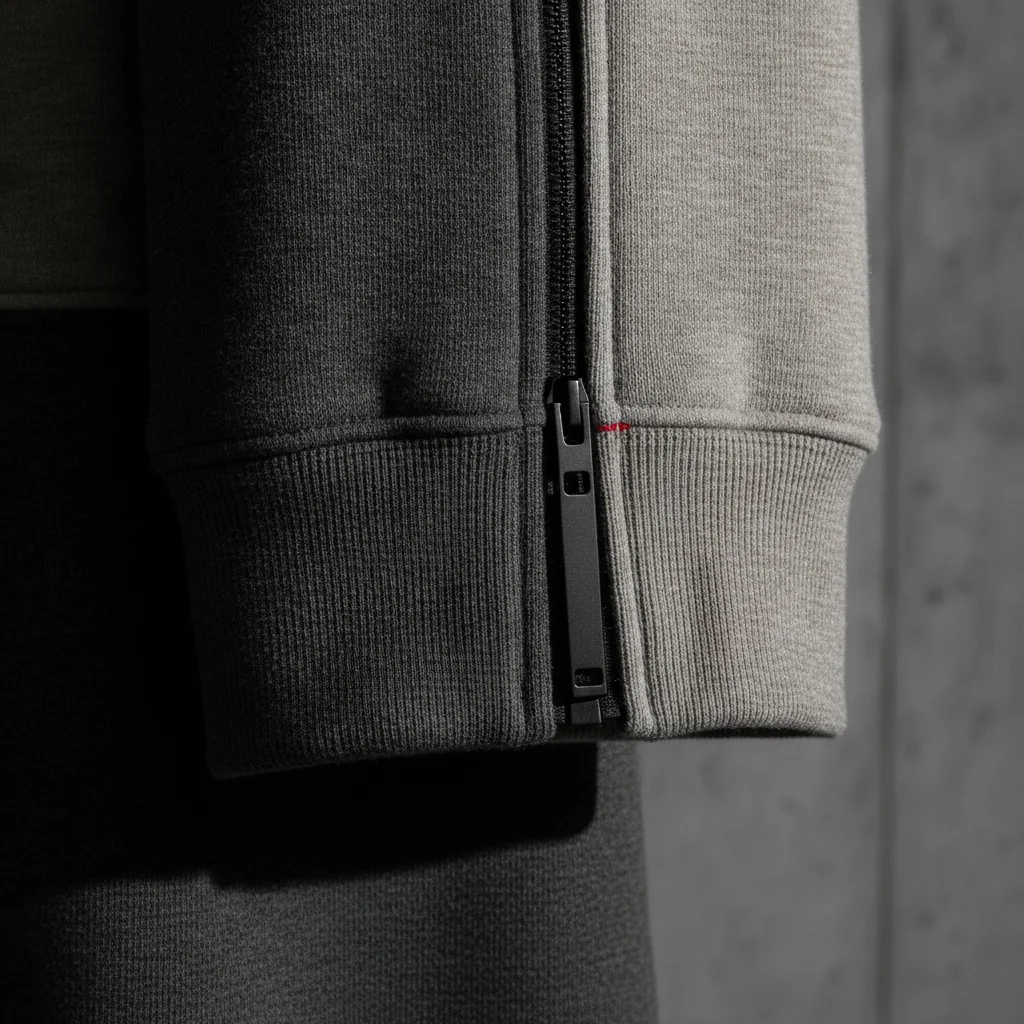
Making a custom tracksuit for a brand runs through seven stages: design and tech pack, fabric sourcing, pattern making, sampling, bulk production, quality inspection, and DDP shipping. Most brands go from a finished design to a shipped bulk order in 6 to 9 weeks, working with a manufacturer rather than a print shop, since a tracksuit’s two-piece construction and fabric weight need factory-level pattern and sewing capability.
Step 1: Lock the Design and Build a Tech Pack
Before any fabric is sourced, the design needs to exist as a tech pack – a specification document, not a mood board. A tracksuit tech pack covers fabric type and GSM for both jacket and pant, the colorway (including any custom Pantone reference), construction details (zipper or pullover jacket, cuff and waistband style, pocket placement), decoration placement and method, and label positions. Flat sketches or CAD drawings with measurements at each key point (chest, sleeve, inseam, waist) remove ambiguity a manufacturer would otherwise have to guess at.
Brands without design software can still start: a clear reference image, a rough sketch with dimensions, and a written description of fabric and finish are enough for a manufacturer to build a working tech pack collaboratively, though the more specific the brand’s own input, the fewer sample rounds it typically takes to land the fit and finish it wants.
Step 2: Choose Fabric and Fit
Fabric choice sets both feel and cost. Fleece and French terry (240-400+ GSM) suit a heavyweight streetwear look with a soft interior hand-feel, while nylon or polyester suits a technical, retro-athletic aesthetic with a different drape and sheen. GSM within the fleece range affects warmth and structure: 240-280 GSM drapes softer and suits a three-season set, while 320-400+ GSM holds shape and reads as a heavier, premium-feeling garment.
Fit decisions – boxy or oversized jacket, straight or tapered pant leg, cropped or full-length jacket – should be decided before pattern making starts, since changing fit after a pattern is cut and a sample sewn adds a revision round rather than a simple tweak.
Step 3: Pattern Making
A pattern maker translates the tech pack’s measurements and fit intent into a graded pattern for each size in the brand’s size run, for jacket and pant separately. This step decides how the finished garment actually sits on a body – two tech packs with identical measurements can produce different-feeling garments depending on how the pattern maker interprets ease, seam placement, and grading between sizes.
Reputable manufacturers share a pattern or first sample measurement chart before cutting bulk fabric, giving the brand a chance to flag a fit concern before it is built into fifty or five hundred units.
Step 4: Sampling and Approval
The factory cuts a pre-production sample – one complete jacket-and-pant set built exactly to the tech pack and pattern. This is the point where a brand should check fit on a body (not only on a hanger), fabric weight and hand-feel, decoration placement and quality, and construction details like zipper action, cuff stretch, and waistband fit. A lab dip runs alongside this stage if a custom color was specified, confirming the dye batch matches the brand’s target shade before yardage gets dyed at scale.
Most first orders need one revision round after the initial sample – a fit tweak, a decoration placement change, or a fabric weight revision. Building this expectation into the schedule from the outset avoids treating a normal revision round as a delay.
Step 5: Bulk Cutting, Sewing, and Decoration
Once the sample is approved, the factory cuts bulk fabric using the graded pattern, sews jacket and pant components on dedicated lines, and applies decoration (screen print, embroidery, DTG, or all-over print) either before or after construction depending on the method and placement. In-line quality checks run throughout this stage, spotting stitching or print defects while a run is still in progress rather than after it is complete.
Bulk production timeline scales with order size and decoration complexity: a 100-piece single-color print order moves faster than a 500-piece order with multi-location embroidery and print combined.
Step 6: Quality Inspection and Packing
Before an order ships, a factory should run a final inspection against the approved tech pack and sample – checking a statistical sample of finished units for measurement accuracy, stitching quality, decoration placement, and any visible defects. Private label elements (neck labels, hangtags, packaging) get attached or inserted at this stage if not sewn in during construction. Units are then folded, bagged, and packed for shipping according to the brand’s packaging specification.
Step 7: DDP Shipping to the Brand’s Market
Worldwide DDP (Delivered Duty Paid) shipping means the manufacturer handles freight booking, customs clearance, and duty payment, so the tracksuits arrive at the brand’s door in the USA, UK, or Europe without the brand needing its own customs broker or handling an unexpected duty bill on arrival. Air freight DDP shipping from Pakistan typically takes 5 to 10 days depending on destination, layered on top of the manufacturing timeline above.
Common Mistakes Brands Make on a First Tracksuit Order
Skipping the tech pack and describing a design only verbally leads to a sample that misses the brand’s intent, costing a full extra revision round. Approving a sample from photos alone rather than checking the physical piece on a body misses fit issues photos do not reveal. Choosing a custom Pantone color without budgeting time for a lab dip round can compress the sampling schedule to the point where the brand feels pressure to approve a shade that does not fully match. Ordering the jacket and pant as separate purchase orders, sometimes even from different manufacturers, risks a visible fabric or color mismatch between the two pieces once they arrive.
Decoration Placement Decisions Worth Making Early
Where a design sits on a tracksuit jacket and pant changes both how it reads visually and how it is produced. A chest hit and a back print on the jacket are the most common placements and the easiest to execute cleanly with screen print or embroidery. A sleeve print, a hood-adjacent placement, or a design running across a side seam or zipper line adds complexity, since the decoration equipment needs to work around a seam or hardware rather than a single flat panel.
On the pant, a hip logo or a side-leg stripe are the most common placements; a full-leg or all-over pant design requires the fabric to be printed before cutting, which changes the production sequence compared with printing after construction. Deciding placement before pattern making finishes lets the factory account for it in how panels are cut and where seams fall relative to the design.
Working With an Overseas Factory: What to Expect
Communication with an overseas manufacturer runs mostly through written specifications, photos, and scheduled video calls rather than in-person visits, which works well as long as expectations are set clearly from the outset. A brand should expect a written confirmation of the tech pack before cutting starts, photo and video documentation of the pre-production sample before it ships for physical review, and a clear production schedule with dates for sample completion, bulk cutting start, and shipping.
Payment structure typically follows a deposit-on-order, balance-before-shipping model – a percentage due to begin sampling and production, with the remaining balance settled once the bulk order is inspected and ready to ship. Confirming this structure, along with the sample and bulk production dates, in writing before the deposit is sent keeps both sides aligned on the schedule from day one.
Tools and Information to Prepare Before Starting
| Item | Why It Matters |
|---|---|
| Tech pack or detailed sketch with measurements | Removes guesswork on fit, fabric, and decoration placement |
| Target GSM and fabric type | Sets cost, feel, and season suitability |
| Decoration method and placement | Determines production process and per-unit cost |
| Label and packaging specification | Turns a manufactured garment into a branded product |
| Target order quantity | Affects per-unit pricing and total budget |
Sizing and Grading Across a Full Run
A tracksuit sold across a size range (typically S through 2XL for a streetwear brand) needs a graded pattern that scales chest, waist, inseam, and sleeve length proportionally between sizes, for jacket and pant independently. Brands should request a size chart alongside the pre-production sample, showing exact measurements per size, and compare it against a size chart from a comparable garment already worn and fitted by the target customer, rather than approving a size run on assumption alone.
Consistent grading across sizes also matters for reorders: confirming the size chart at the sampling stage means a brand reordering the same design months later can expect the same fit across the size run, without needing to re-check grading each time.
How Minku Apparel Runs This Process
Minku Apparel runs custom tracksuit orders through this full seven-stage process from its Pakistan factory, from a brand’s first tech pack through pattern making, sampling, bulk production, and worldwide DDP shipping to the USA, UK, or Europe. Orders start at 50 pieces per design, with a pre-production sample built and approved before any bulk fabric gets cut.
Brands preparing to start this process can check how long the full manufacturing timeline takes, review what a custom tracksuit costs to manufacture, or see the complete custom tracksuit manufacturer overview before submitting a tech pack. A design ready to move forward can go straight to get a custom quote.
How to Make Custom Tracksuits for Your Brand — In Detail